Redlining
Mark up the 3D model - draw, annotate and paint on the geometry, organized in layers that are saved with the viewable.
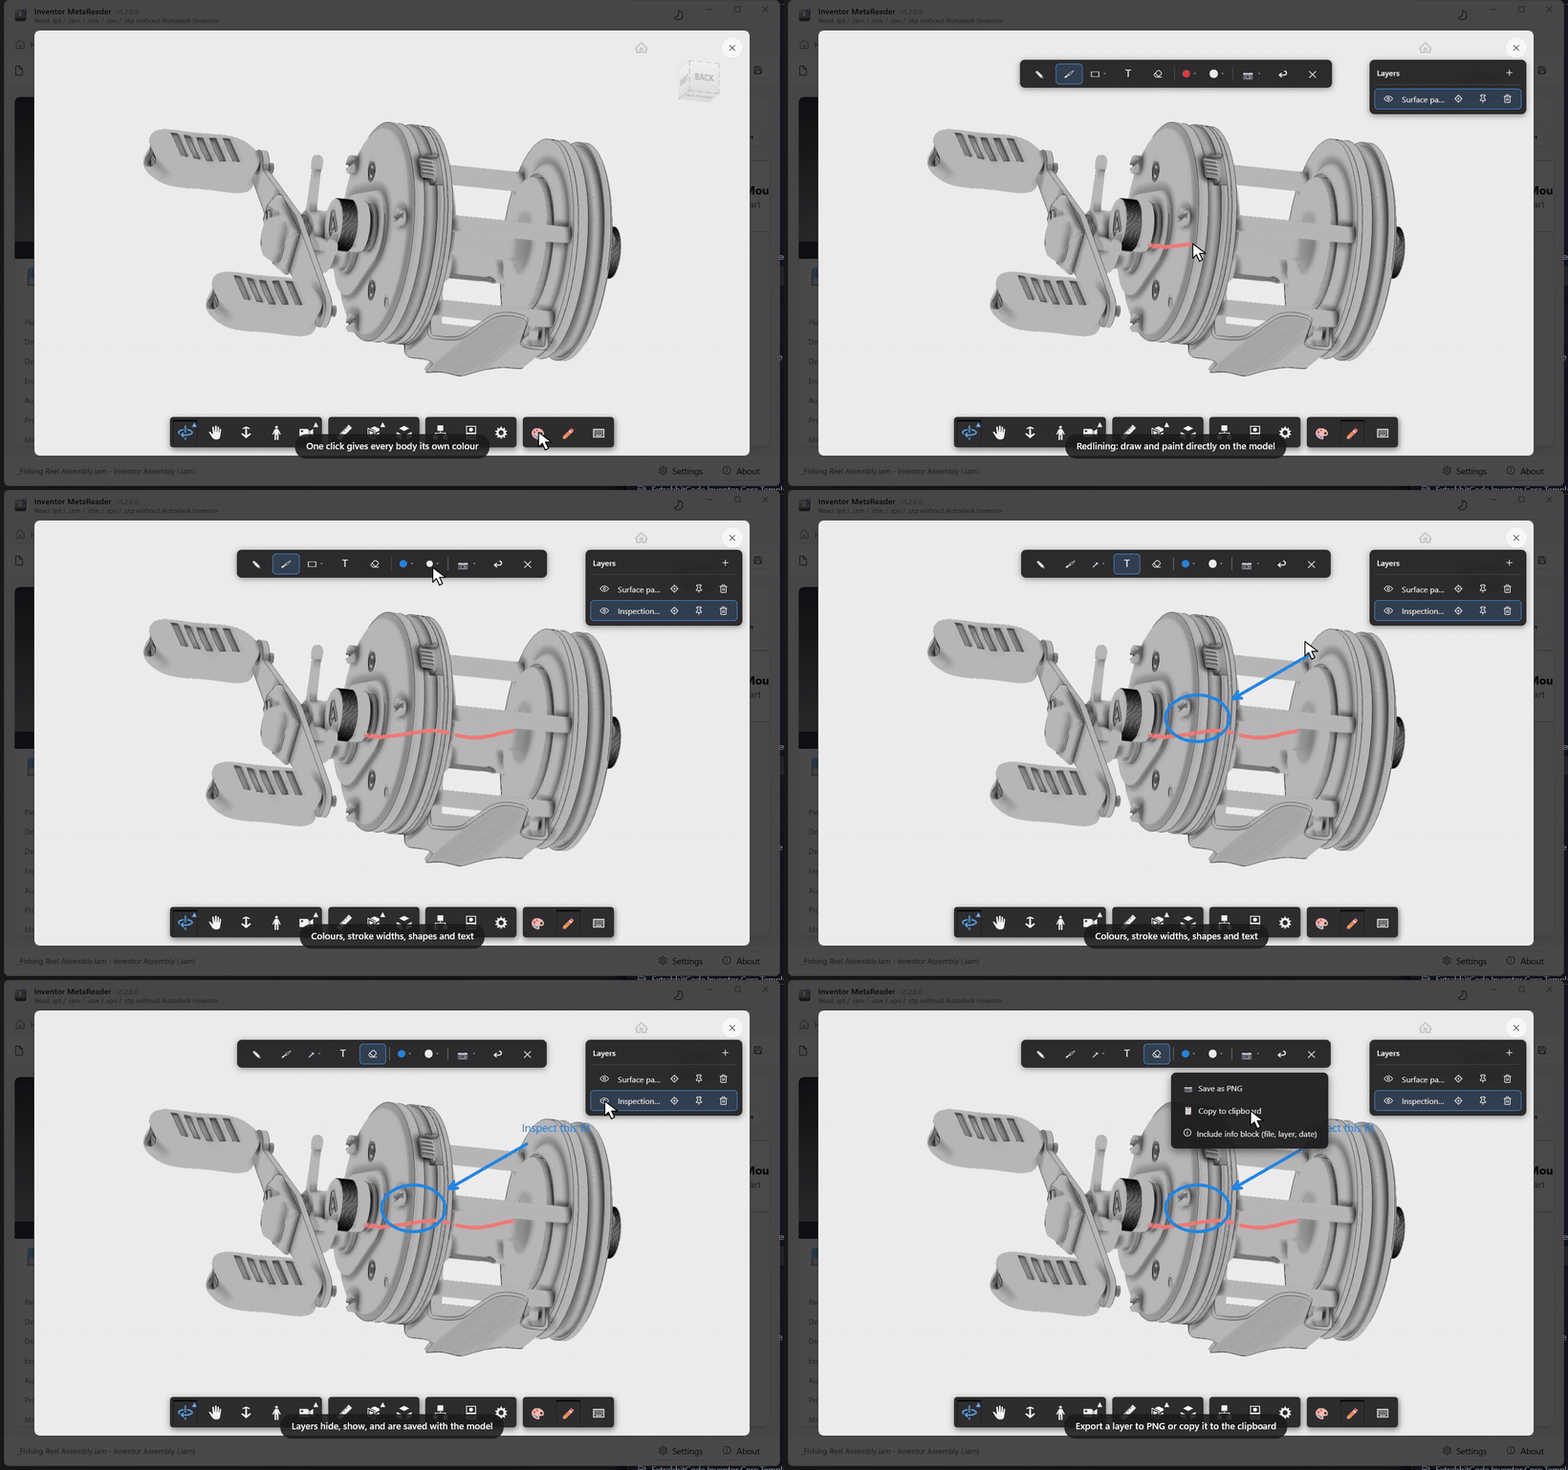
Sometimes you don't just want to look at a model - you want to point at something. Redlining lets you draw directly over the 3D view: circle a problem area, add an arrow and a note, or paint right onto the geometry. Everything you draw lives on layers that are stored alongside the cached viewable, so your markup is still there the next time the model opens.
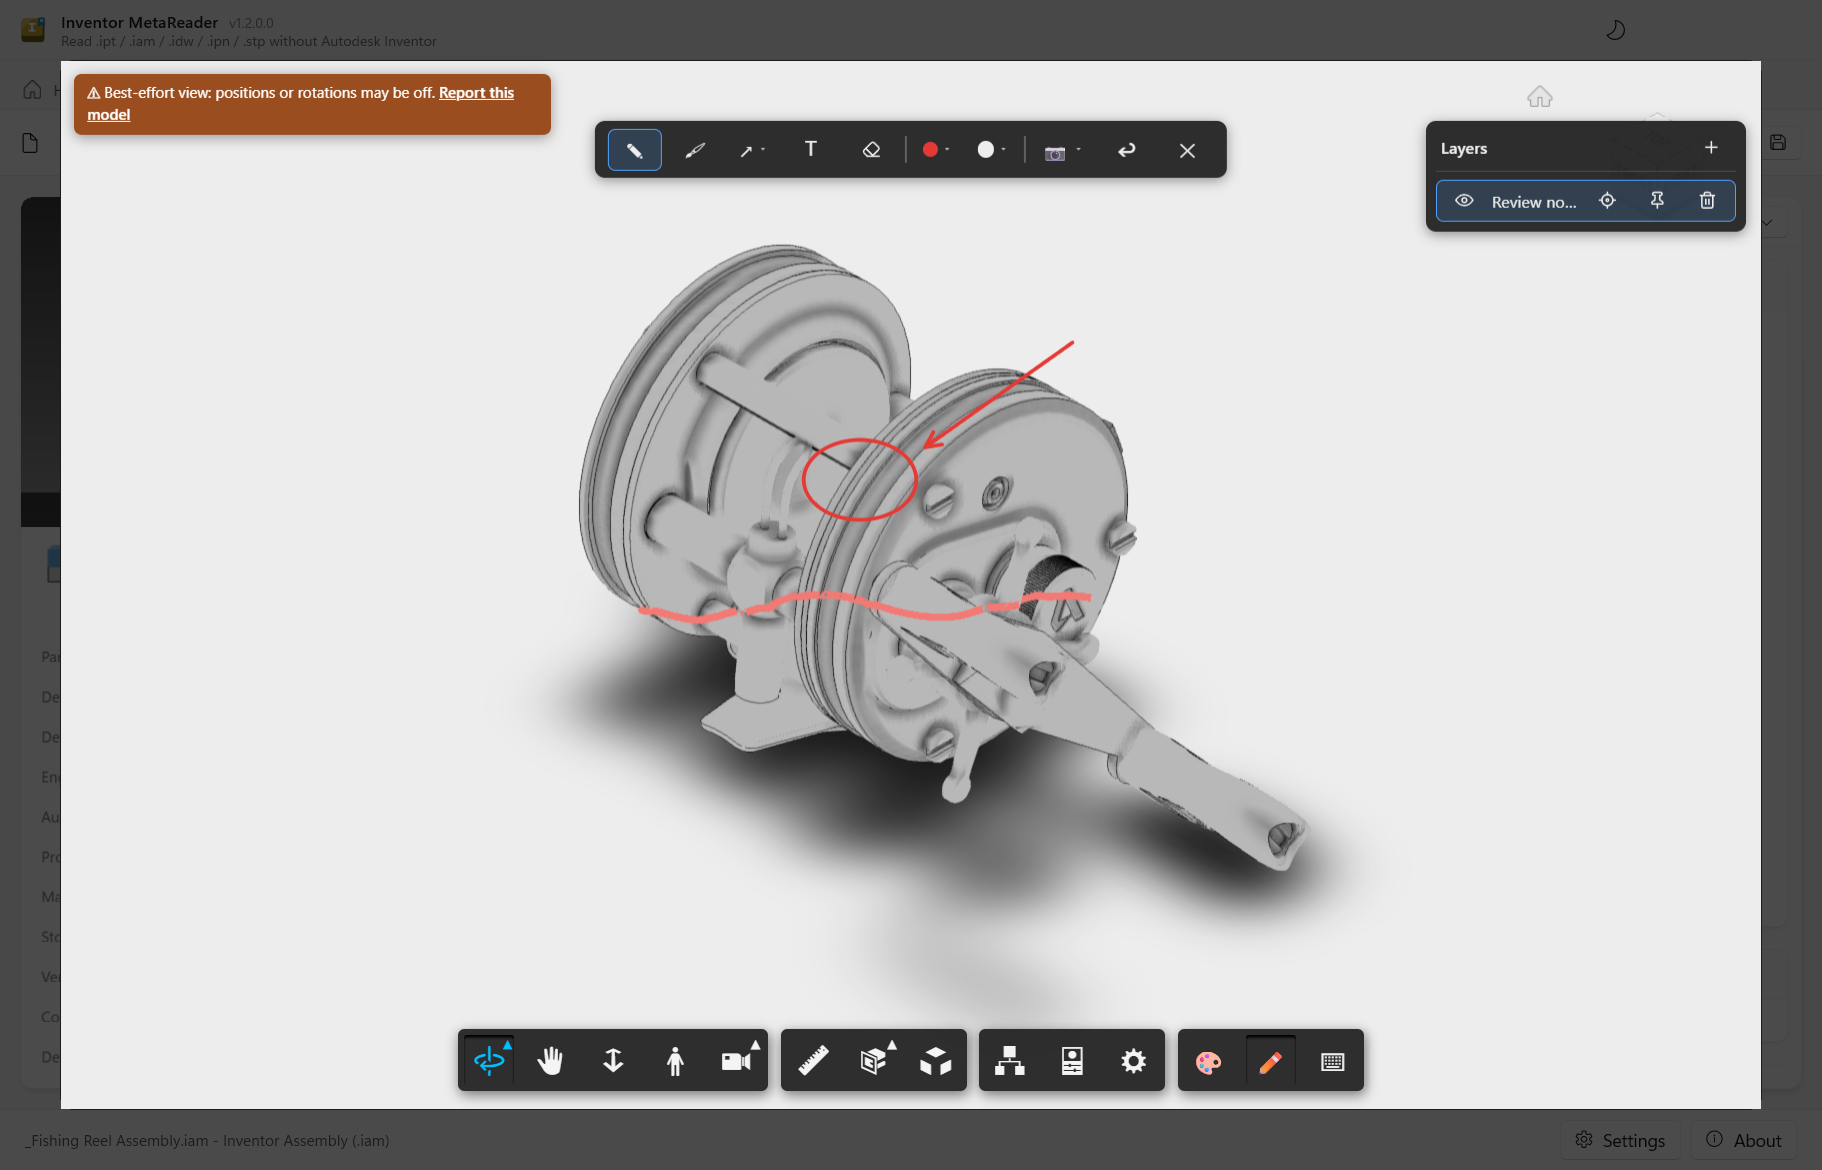
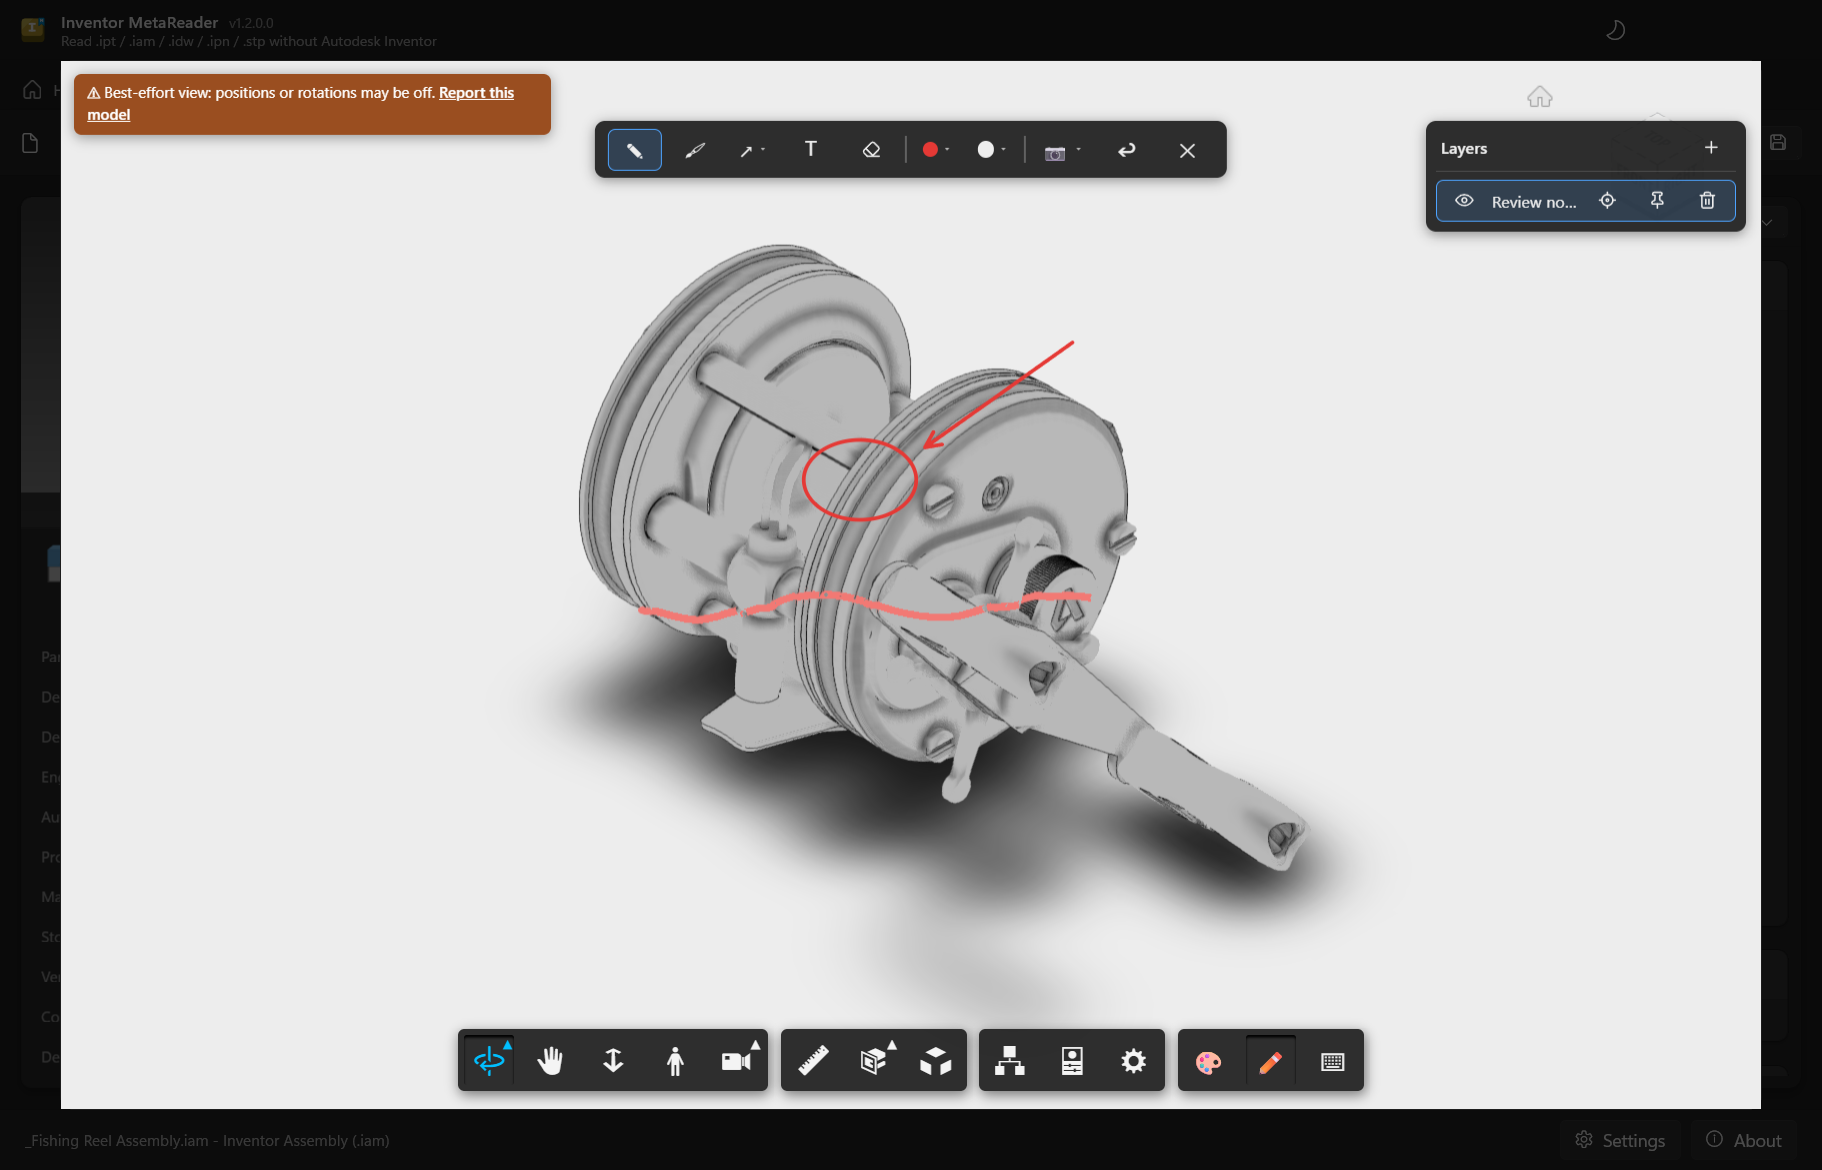
Click the pencil in the viewer toolbar (or press E) to start; press Esc or the ✕ in the palette to leave. Markup never changes the model - it's an overlay. Redlining is available on Inventor parts and assemblies (both engines); STEP views don't have it yet.
Tools
The palette at the top gives you, from left to right:
- Freehand (
F) - sketch lines in screen space. - Paint on model (
P) - the 3D pen; see below. - Shapes - a dropdown with rectangle, circle and arrow; the button shows the shape you used last.
- Text - click anywhere and type; click elsewhere to commit.
- Eraser - click or drag across any markup to remove it, 2D or 3D.
- Colour and stroke width - two dropdowns; the colour swatch and dot preview your current pick. The width applies to both 2D strokes and the 3D pen.
- Screenshot - export the current view including markup: save as PNG or copy to the clipboard, optionally stamped with an info block (file name, layer, date).
- Undo (
Ctrl+Z) - steps back through draws and erases, in order, across all layers.
To orbit or zoom while redlining, just pick any of the viewer's own navigation tools (or press O) - drawing pauses, and the palette stays put. Pick a drawing tool to continue.
Painting on the model
The 3D pen is different from the other tools: instead of drawing on the screen, it paints onto the surface of the model itself. Strokes hug the geometry, stay attached when you orbit or zoom, and are hidden by parts in front of them - like marker on the actual part. The stroke width is taken from the width dropdown at the moment you start drawing.
Because 3D paint lives on the model, it reads well from any camera angle. The 2D tools (freehand, shapes, text) draw in screen space instead - they line up with the model only from the camera pose they were drawn in, which is exactly what layers store.
Layers
The Layers panel docks on the right while redlining is active. Each layer keeps its own markup and remembers the camera pose it was created with:
- + adds a layer; the newest markup always goes to the selected layer.
- Double-click a layer to rename it.
- The eye hides or shows a layer (3D paint included).
- The camera button restores the layer's saved view - so 2D markup lines up again; the pin re-saves the current view to the layer.
- The trash deletes a layer and everything on it.
Drag the panel's left edge to resize it.
Saved with the viewable
Markup is persisted automatically - a few moments after you stop drawing, all layers (including 3D paint, per stroke colour and width) are written next to the cached viewable. Close the model, reopen it next week: your layers are back.
Markup is stored in the 3D cache entry of the model. If you clear the viewables cache in Settings → 3D Viewer, the markup goes with it.
Keyboard shortcuts
E toggles redlining, F/P pick the pens, O switches to navigation, C toggles body
coloring. All of these are rebindable: click the keyboard button in the viewer toolbar to
open the shortcuts window, click a key, and press its replacement. A key that's already taken is
refused, and Reset to defaults brings everything back. Your bindings are remembered like any
other setting.